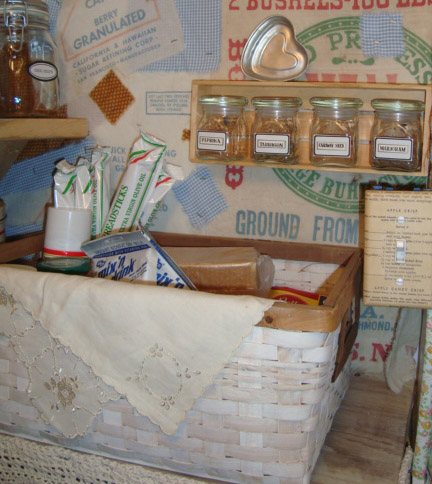
I have always appreciated anything homemade...I was brought up in an artsy, make-do household.
If we needed pillows, my mom carefully selected unique fabric and sewed them. If an armoire was needed to house the tv, my dad crafted one from vintage & reclaimed materials. If the boring concrete porch step was deemed ugly, it was faux-painted differently every couple of years.
Not to mention, the crafts, gifts, food, etc...more often then not, homemade.
its easy though when you embark on your own to get caught up in the fast food, premade, shiny new, plastic world. but my roots never changed. In college when most of my friends headed to the mall, I always found myself heading to thrift stores, natural food stores, art stores and craft stores. we joked that I was the mother or even grandmother of the group, always flipping through country living type magazines - dreaming of a farm, big gardens and making homemade jam.
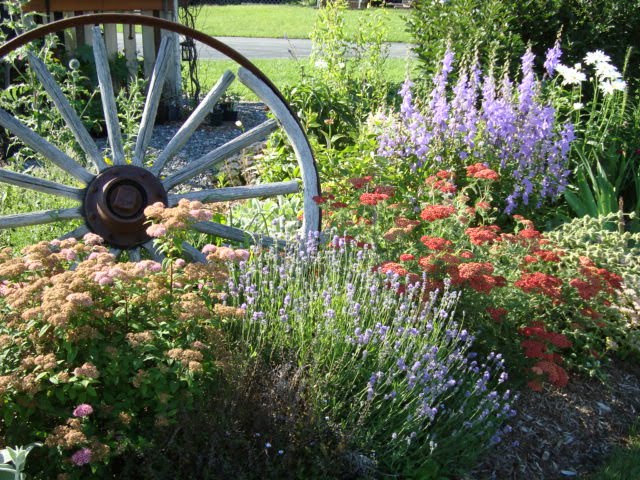
i am so blessed to have my farm, my gardens, my homemade jam...but its still a work in progress, trying to live homemade. What about all of the preservatives and chemicals in our cleaners, soaps, shampoos, food, etc? What about living with the seasons? What about growing more, making more, making do, upcycling...every day we are trying to transition into a more homemade life. Sometimes little steps, sometimes big steps.
in the coming weeks I am transitioning our home into using homemade cleaners - dish, laundry, furniture polish, all purpose cleaner/degreaser. I wanted to share a few recipes I have found.
HOMEMADE ALL PURPOSE CLEANER
2 cups boiling water
1/4 cup castile soap
2 tsp borax
2 T vinegar
Pour all ingredients into a clean spray bottle. Shake before using. You could also add essential oils to your solution if you would like - citrus ones would be best.
HOMEMADE DISHWASHER SOAP
1 Cup Washing Soda
1 Cup Borax
1/2 Cup Salt
1/2 Cup Citric Acid (like Fruit Fresh)
15-30 drops citrus essential oil-lemon, grapefruit or orange
Mix together and store tightly covered in a Mason Jar. Use 1-2 Tablespoons per load. Add vinegar to the rinse dispenser for best results.
HOMEMADE LAUNDRY DETERGENT POWDER
2 cups Borax
2 cups Washing Soda
1 regular sized bar of soap (Ivory or Fels Naptha or homemade bar soap)
Shred the bar soap with a cheese grater. Add the bar soap shreds to a cup of Borax and Washing Soda in a blender and mix it on medium speed until thoroughly powdered and combined. Then add the remaining ingredients, mix again. Store in a clean, airtight container.
LIQUID DISH SOAP
Liquid castile soap
20 drops lime essential oil
10 drops sweet orange essential oil
5 drops citrus essential oil
Fill a clean plastic squirt bottle with castile soap (diluted if using concentrate). Add essential oils. Shake the bottle before each use. Add 1-2 tablespoons of the liquid to dishwater and wash as usual.
DISCLAIMER: I have never made these. I am not sure how they will work. I am experimenting and simply sharing the journey.


